

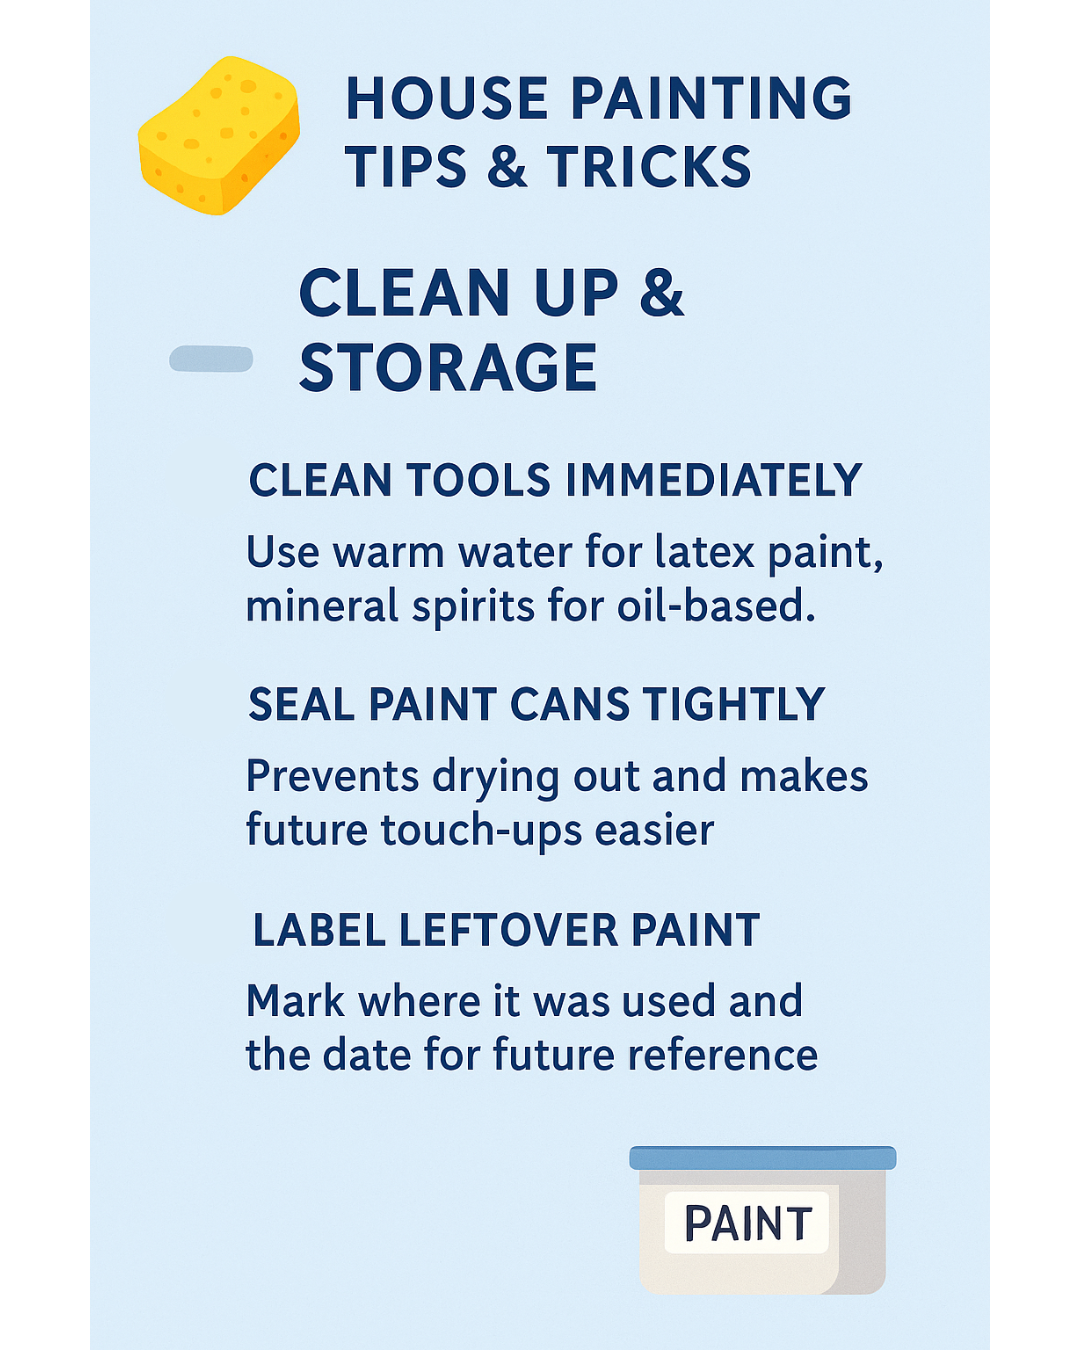
After all the prep work, brush strokes, and drying time, your painting project is complete — but you’re not done just yet. The clean-up and storage phase is just as important to preserve your tools, leftover paint, and your sanity when it’s time for touch-ups. Here’s how to finish like a pro:
🧼 1. Clean Tools Immediately
Don’t let paint dry on your tools — it makes cleaning harder and can ruin brushes and rollers. Here’s what to do:
-
Latex Paint: Rinse brushes, rollers, and trays with warm soapy water until clear.
-
Oil-Based Paint: Use mineral spirits or paint thinner in a well-ventilated area.
Pro Tip: Use a brush comb to remove stubborn paint from bristles and keep their shape.
🥫 2. Seal Paint Cans Tightly
A sloppy seal can ruin perfectly good paint. To store it properly:
-
Clean paint from the rim.
-
Place plastic wrap over the opening (optional) before hammering the lid back on gently.
-
Store cans upside down for an airtight seal (yes, really!).
🏷️ 3. Label Leftover Paint
Six months from now, when you’re fixing a scuff or repainting trim, you’ll be glad you labeled your cans. On each lid, write:
-
Room or surface where the paint was used
-
Color name and brand
-
Date of painting
This saves time and guesswork for future projects or when advising a contractor.
Final Thoughts
Taking a few extra minutes to clean and store your materials properly protects your investment and makes future painting easier. Whether you’re a DIYer or a professional, these final steps wrap your project with the same care you started with — neat, organized, and ready for what’s next. 🏡✨


No Comment